Tutorials
Building a Sine Block
Example how to build a being block which outputs a sine curve. Most custom being blocks are of the same form:
Initialize connectables and states inside
__init__()Do some work and set output values in
update()
A Sine block should have an output for the sine values.
import math
import time
from being.block import Block

class Sine(Block):
    def __init__(self, **kwargs):
        super().__init__(**kwargs)
        self.add_value_output()

    def update(self):
        phase = TAU * time.time()
        self.output.value = math.sin(phase)
This implementation has a couple shortcomings:
Using system time leads to jitter and different start phases
Frequency can not be set nor change
Let fix this by adding a phase attribute, using the interval duration from the configuration and add an additional value input for the frequency.
import math
from being.block import Block
from being.configuration import CONFIG
from being.constants import TAU


INTERVAL = CONFIG['General']['INTERVAL']


class Sine(Block):
    def __init__(self, frequency=1.0, **kwargs):
        super().__init__(**kwargs)
        self.add_value_input('frequency')  # frequency attribute input alias
        self.add_value_output()

        self.frequency.value = frequency  # Set initial frequency value
        self.phase = 0.0

    def update(self):
        self.output.value = math.sin(self.phase)

        # Compute the phase increment
        self.phase += TAU * self.frequency.value * INTERVAL
        self.phase %= TAU
Pendulum Motor Movement With Printer
The following code snippet transforms a sine signal to [0, LENGTH] so that
a dummy motor moves back and forth. Additionally the target position values
get printed to the standard output. carriageReturn=True prepends a
Carriage return control
character to the output so that the cursor stays on the same line.
"""Pendulum motor demo."""
from being.awakening import awake
from being.blocks import Sine, Trafo, Printer
from being.motors import DummyMotor
from being.resources import manage_resources

# Params
LENGTH = 0.1

with manage_resources():
    # Initialize blocks
    sine = Sine(frequency=0.1)
    trafo = Trafo.from_ranges(inRange=(-1, 1), outRange=(0, LENGTH))
    motor = DummyMotor(length=LENGTH)
    printer = Printer(prefix='Target Position:', carriageReturn=True)

    # Make connections
    sine | trafo | motor
    trafo | printer

    awake(sine)
Building a Motion Looper Block
Let’s build a random motion looper block. This block should continuously pick a
random motion and play it (sending out a motion command message which can be
processed by a being.motion_player.MotionPlayer.
Such a block relies on two other Being components:
A clock for measuring the time
Content for looking up and loading the available motion curves
A special edge case that needs is attention is when there are no motions to begin with.
import random
from being.block import Block
from being.clock import Clock
from being.connectables import MessageInput
from being.content import Content
from being.motion_player import MotionCommand


class Looper(Block):

    """Random motion looper block."""

    def __init__(self, content=None, clock=None, **kwargs):

        # Fetch currently cached single instances of
        # Content / Clock or create new ones if necessary
        if content is None:
            content = Content.single_instance_setdefault()

        if clock is None:
            clock = Clock.single_instance_setdefault()

        super().__init__(**kwargs)
        self.add_message_output()
        self.content = content
        self.clock = clock
        self.nextUpd = -1.0  # Timestamp when next update is due

    def update(self):
        now = self.clock.now()
        if now < self.nextUpd:
            # Nothing to do for now
            return

        available = self.content.list_curve_names()
        if not available:
            # Try again in a second...
            self.nextUpd = now + 1.0
            return

        picked = random.choice(available)

        # Let's determine curve duration for next update
        curve = self.content.load_curve(picked)
        self.nextUpd = now + curve.duration

        msg = MotionCommand(name=picked)
        self.output.send(msg)


# Demo
looper = Looper()
sink = MessageInput()
looper.output.connect(sink)
for _ in range(1000):
    looper.update()
    for msg in sink.receive():
        print(f'Time is {looper.clock.now()}, Motion Command: {msg}')

    looper.clock.step()
Creating a New Widget / Web Component
Let’s create a new frontend widget which displays the currently available motion curves in the backend and has a refresh button.
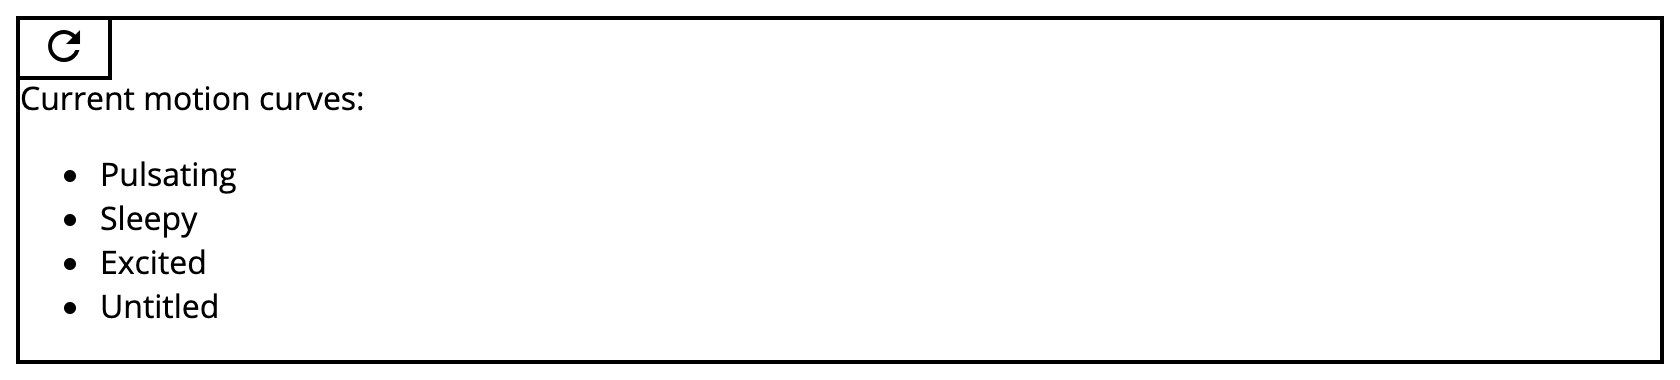
Screenshot of custom Curve Lister widget.
Sub-classing widget Being class and registering custom web component
Custom HTML template
Toolbar button
API call to backend
import {Widget} from "/static/js/widget.js";
import {Api} from "/static/js/api.js";
import {remove_all_children} from "/static/js/utils.js";


class CurveLister extends Widget {
    constructor() {
        super();
        this.api = new Api();

        // Adding a template to the widget with a single <ul> list
        // element. This is just the inner part of the widget. Some
        // other element are already initialized (shadow root,
        // toolbar div...)
        this.append_template(`
          Current motion curves:
          <ul id="my-list">
            <li>Nothing to see</li>
          </ul>
        `);
        this.list = this.shadowRoot.querySelector("#my-list");

        // Adding the refresh button to the toolbar
        this.refreshBtn = this.add_button_to_toolbar("refresh");
    }

    connectedCallback() {
        this.refreshBtn.addEventListener("click", evt => {
            this.refresh();
        });
        this.refresh();
    }

    async refresh() {
        // Removing all current list elements
        remove_all_children(this.list);

        // Fetching the current motion curves from the backend. The
        // format is a bit cumbersome: Motions message wraps curves
        // and the curves them self are [curve name, curve] tuples
        // ordered in most recently modified order.
        //
        // motionsMsg = {
        //      type: "motions",
        //      curves: [
        //          ["some name", {"type": "Curve", ...}],
        //          ["other name", {"type": "Curve", ...}],
        //          // ...
        //      ]
        // }
        const motionsMsg = await this.api.get_curves();

        // Add new <li> element to list for each curve
        motionsMsg.curves.forEach(namecurve => {
            const [name, _] = namecurve;
            const li = document.createElement("li")
            li.innerText = name;
            this.list.appendChild(li);
        });
    }
};

// Register new widget as web component
customElements.define("being-curve-lister", CurveLister);
This widget can now be used within HTML with
<being-curve-lister></being-curve-lister>